If you’re a conda user, you may be familiar with the following commands to manage your Python environments:
| |
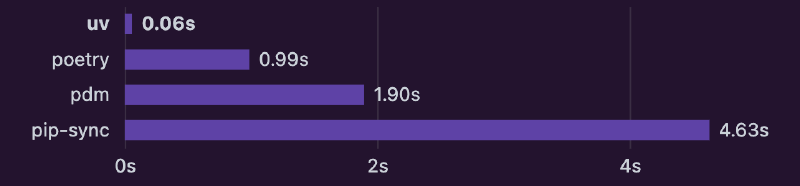
Recently, a new tool uv has emerged that aims to simplify and enhance the management of Python projects. In many cases, it can be a drop-in replacement for conda, providing a more efficient way to handle Python environments and dependencies. There are several blogs and articles that discuss the advantages/disadvantages of using uv over conda, but this post will focus on how to switch from conda/pip to uv with minimal effort.
Contents
conda/pip style usage
If you just want a quick way to use uv like you would with conda or pip, then the following commands should help you get started:
Creating a New Virtual Environment
| |
After running the above command, you will have a ./<myenv> directory containing the new virtual environment. (This suggests that the name of the virtual environment is not important, as long as it is unique in the current directory. So you can run a simpler command uv venv to create a virtual environment with the default name.)
Removing Virtual Environments
As you might have guessed, removing a virtual environment is as simple as:
| |
Activating/Deactivating the Virtual Environment
To activate the virtual environment, you can use:
| |
To deactivate it, simply run:
| |
Installing/Removing Packages
To install Python packages, you can use:
| |
You can check the installed packages with:
| |
Or inspect with:
| |
To remove package(s), use:
| |
[!WARNING] If you are in a uv environment nested inside a conda environment, if you run
pip install <package>, it will install the package in the conda environment rather than the uv environment. If you are in a clean uv environment,pipshould be unavailable, and you should useuv pipinstead.
Packaging and Distributing Your Project
To list all the packages in the environment in a requirements.txt format:
| |
To build a package for distribution, you can use:
| |
This will create a dist directory containing the built package.
To publish your package to PyPI, use:
| |
uv style usage
If you want to take full advantage of uv’s features, you can use it in a more idiomatic way. Here are some common tasks and how to perform them with uv:
Creating a New Project
What is a Project?
A project is all the files(containing metadata) and directories that are needed to run your Python application. It includes the source code, configuration files, and any other resources that are required to run the application. To see the structure of a uv project, the simplest way is to create one:
| |
This will create a new directory called <myproject> with the following structure:
| |
Adding Dependencies
Now you want to add some packages to your project, say numpy and requests. You can do this by running:
| |
After running this command, you will see that the pyproject.toml file has been updated with the new dependencies:
| |
together with a new file, uv.lock, which contains the exact versions of the packages that were installed.
Also, a new directory ./venv has been created, which contains the virtual environment for the project. You can activate it using the aforementioned command.
Note that if you use uv pip install <package>, it will install the package in the current virtual environment, but it will not update the pyproject.toml file or create a uv.lock file. So it is recommended to use uv add <package> instead.